
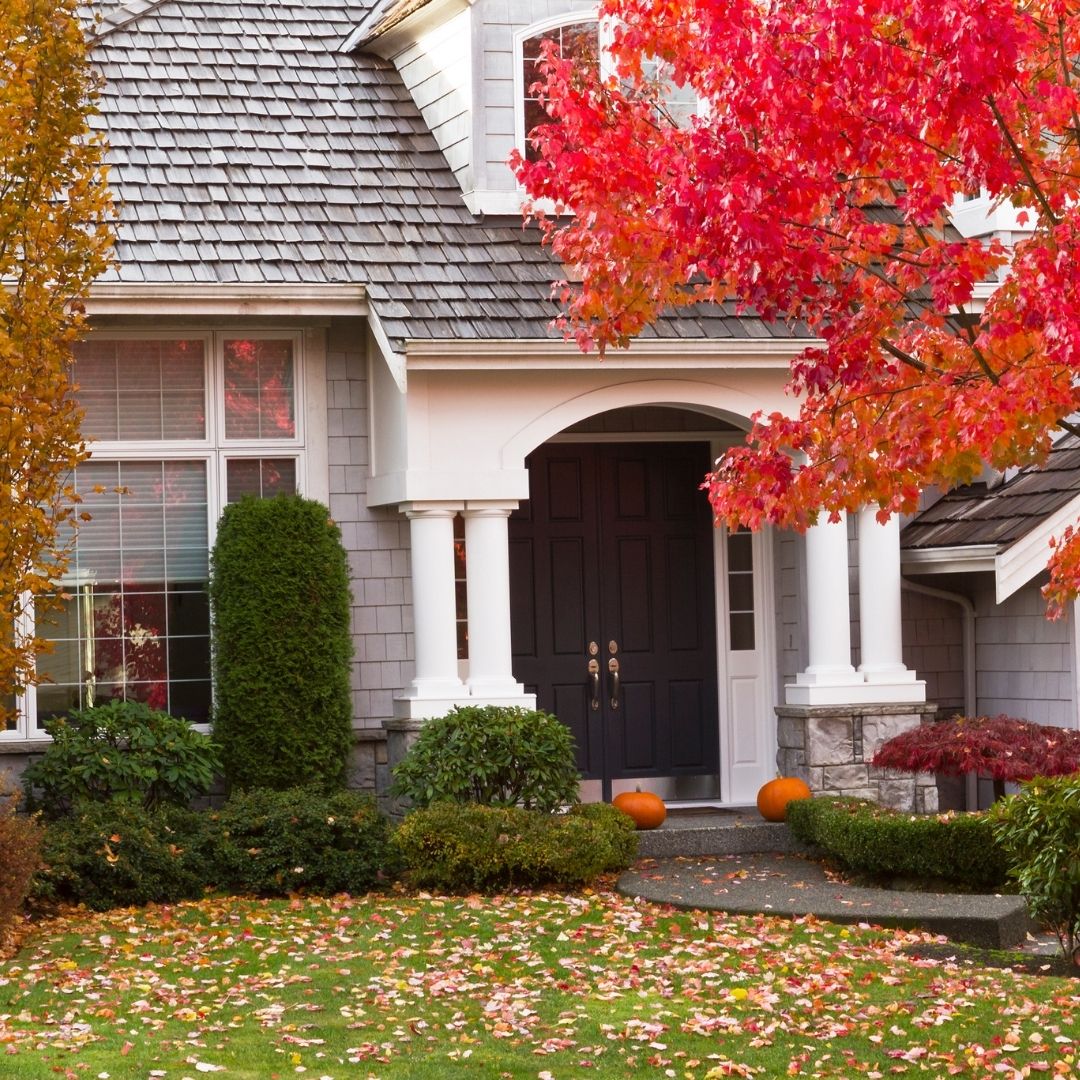
Fall Home Maintenance Checklist
As the weather starts to cool and the leaves begin to change colors, it is time to start thinking about fall home maintenance. From lawncare to reviewing your roof, we have you covered with this fall maintenance checklist.
#1 Protect your plants.
- Trimming back plants. If you’re starting this list early enough and temperatures haven’t dropped much yet, you can trim back your plants to a manageable size and remove dry, dead areas. This is helpful both for aesthetics and to prevent disease. If you are starting this project later in the fall in cooler temperatures DO NOT trim back your perennials. Trimming stimulates growth and the last thing you want is to encourage your plants to attempt a growth spurt as winter rolls in. It might mean your landscaping isn’t a picturesque as you’d like this winter, but you can tough it out one season and mark your calendar to trim back in late summer next year.
- Lay fresh mulch to trap in moisture for the winter.
- Plant Spring bulbs. Bust out your daffodils, tulips, crocus, hyacinths and more and get them in the ground before the first frost to be sure you have beautiful blooms in early spring.
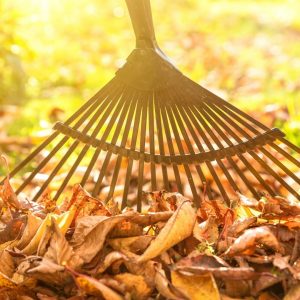
#2 Rake your leaves.
Protect your grass by removing fallen leaves in a timely fashion. Left unattended, leaves will prevent air flow and encourage disease. Once most of the leaves are collected for the season, you can leave a thin layer on top and cut it with the mulch setting on your mower. Pro tip- dry leaves make excellent compost. Just be sure that your leaves are fully dried before adding to your compost pile.
#3 Feed and seed your lawn.
Seeding your lawn in the fall rather than the spring reduces the need for watering which is better for your wallet, the environment, and your time.
- Pay special attention to any bald spots in the yard and consider a different variety of grass if needed. Areas with extra shade will prefer a different type of grass than those in full sun. Depending on your landscaping, you might need to use more than 1 type of grass to accommodate varying sun exposures.
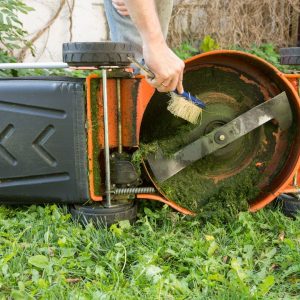
#4 Clean and store your lawn mower.
- Stabilize your fuel. Did you know that gas deteriorates? Leaving gas sitting in your mower during the off-season can actually damage internal engine parts. Don’t worry. There are two options available.
- Add fuel stabilizer to the unused gas that is still in the canister. This will keep it good over winter. You can then top off your mower with some of the stabilized fuel. Be sure to run the mower for a few minutes to distribute the stabilized fuel through the system.
- Run your mower dry.
- Store all unused fuel in a well-ventilated area.
- Disconnect the spark plug.
- This prevents the mower from kick-starting while you proceed with the following steps.
- Remove the blade.
- Unscrew the bolts that hold the blade in place. Wear protective gear to avoid cutting your hands.
- Sharpen the blade.
- Drain the oil. (only for 4-cycle engines)
- Grab a pan and tarp to catch spills.
- Lean the mower on it’s side with the air filter and carburetor facing up.
- Remove the oil reservoir plug and tilt the mower to get the oil draining into the pan.
- Once all the oil has drained, put the plug back in place.
- Clean the undercarriage.
- Scrape off grass, mud, and debris with a putty knife and wire brush.
- Reattached sharpened blade.
- Fill with new, fresh oil. Dispose of old oil at an approved oil recycling station.
- Change the air filter.
- For paper filters, replace with a new paper filter with the edges facing out.
- For oil-soaked sponges, remove, clean with soap and water, fully dry, add a little clean oil to it, and return to mower.
- Remove debris from cooling fins with a long object like a popsicle stick.
- Replace the spark plug.
- Be sure to use a spark-plug socket as it is designed to protect the plug’s porcelain casing.
- Remove any lithium-ion batteries and store them and their chargers (unplugged) in an area that does not get below 50 degrees F.
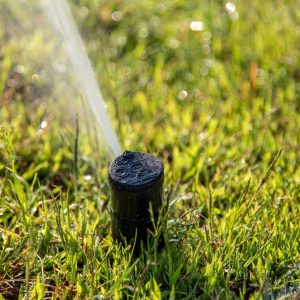
#5 Drain Your Sprinkler System.
To prevent frozen lines, drain your sprinkler system before temperatures dip to 32 degrees F. If you have drain valves, you can tackle this project on your own. If you don’t, it is best to hire a professional to blow out the system. Here’s how to drain a setup with drain valves.
- Turn off the water to the system at the main valve.
- Shut off the automatic controller.
- Open the drain valves to release any residual water.
- Remove above-ground sprinkler heads, shake out water, and restore.
#6 Remove and store garden houses.
Sprinklers are the only potential sources of frozen water lines. Be sure to protect your pipes by removing your garden hoses.
- Drain water from hoses, remove from faucets, and store for the winter.
- Turn off shutoff valves for exterior water supply lines.
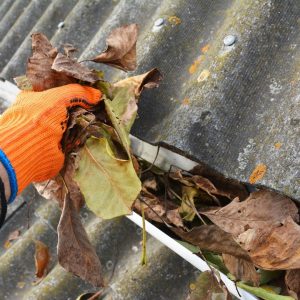
#7 Clean your gutters.
Between debris from summer thunderstorms and all of those beautiful fallen leaves, your gutters are likely a major clog hazard. Be sure to climb up and clear out any debris. Also check for leaks, proper drainage angles, and any loose hardware. Tip: downspouts should extend at least 5 feet from your home’s foundation.
#8 Check your roof.
Depending on your home’s height, your tools, and your comfort with heights, this can be accomplished with a ladder or a pair of binoculars.
- Inspect your roof’s flashing to prevent water leaking into your home. Flashings are metal pieces that cover gaps near chimneys and vents.
- If your home has an asphalt shingle roof, keep an eye out for missing or damaged shingles.
- Look out for moss and lichen. While black algae is harmless, moss and lichen are a warning sing of decay.
- Check your plumbing vent’s boot to ensure the rubber is still in good shape.
- Survey nearby vegetation. Overgrown trees and bushes can damage a roof should they fall but also can severely shorten the lifespan of your roof.

#9 Inspect your fireplace.
Before you start cozying up to a crackling fire, be sure to have a professional clean your flue. Test your damper and make sure the flue is clear of animals and debris.
#10 Inspect for air leaks.
- Test doors and windows for any air leaks and add caulk and weatherstripping as needed to keep your heating bill at bay.
- Look for cracks between trim and siding.
- Seal up areas where pipes enter the house.
#11 Store patio furniture
Once you’re certain you won’t be breaking out the fire pit any longer this season, be sure to clean and store your outdoor furniture to make sure it lasts for years to come. If you don’t have the space in a shed or garage, consider investing in good covers for your outdoor furniture and even your grill.

#12 Inspect your furnace.
Before you turn on the heat for the first time, be sure to have your furnace serviced to make sure everything is in shape. Also make sure your HVAC filters are clean.
#13 Check your dryer vents.
This is not fall-specific but setting regular times each year to check your dryer vent is an excellent way to maintain your appliance and prevent a fire. Vacuum the lint and dust particles from inside the dryer, trap, and vent.
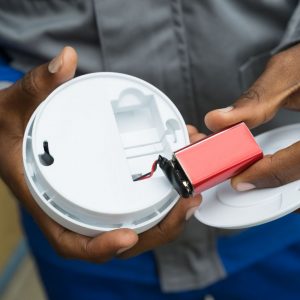
#14 Replace batteries in smoke and CO2 detectors.
A general rule of thumb is to replace batteries in these devices every 6 months. We find it easiest to do it when we change the clocks in the fall and spring. Whenever you do choose, be sure to test the devices as well to make sure they are operating properly.
#15 Clean humidifiers.
Fall marks the onset of cold and flu season. Get ahead of the inevitable sinus issues by making sure you humidifiers are clean and ready. Scrub them with soap and water. We have found toothbrushes and bottle brushes to be excellent tools for the small crevices. Finish up by soaking them in white vinegar to dry out any moisture. Don’t reassemble until they are completely dry.
#16 Stock up on winter supplies.
Yes, this is a fall checklist but snow happens and it is best to be prepared. Make sure you have your preferred ice melting product, a sturdy shovel, a windshield cleaning tool, and test out your snow blower. We’ve found in the past few years that you can never predict if Thanksgiving will be a balmy 80 degrees or an icy slip and slide.

So, now what?
Now that you have your list, the first task is to print it out! Download the Fall Home Maintenance Checklist and keep it in a handy, visible area of your home. We suggest putting it on your refrigerator. You won’t be tackling all 16 items in one weekend, so be sure to cross them off as you go. As you may have noticed, some of these tasks are better served earlier in the fall while others are best to do a bit later. Keep an eye on the weather and predicted low temps. Don’t let the first frost take you by surprise. Happy fall!